
Kaitlin Manning introduces a new series of blog posts aimed at helping dealers take better pictures of rare books and ephemera for online use.
Up until now, I have focused my blog posts solely on social media sites and how to best use them to your advantage. In the next few posts I will tackle a related and equally important topic, a source of much anxiety, confusion, and the desire to throw things at walls – the almighty digital image. Whether online or at the customer’s demand, supplying images of our books and ephemera is quickly becoming the norm. It also requires that we as booksellers become acquainted with at least the basics of digital photography in order to meet that demand and present our inventory in the best possible light.
So let’s begin with the most basic tool of digital photography: the digital camera. I think there is a common misconception that unless you have professional (i.e. expensive) equipment, you cannot take great looking images. In fact, even very basic digital cameras can be effective when used correctly. By the same token, while there are many advantages to investing in a decent camera set-up, fancy equipment alone is useless if you don’t have the time or desire to learn how to operate it properly. So before spending your hard earned cash on an upgrade, I would highly recommend spending a little time with the camera you already own. With a few tweaks and tips, you will be surprised at how good your images can look (so stay tuned). Take the time to read the manual, get to know your camera’s menu and settings, and practice shooting real books. Then, if you still feel like you are due for an upgrade, read on...
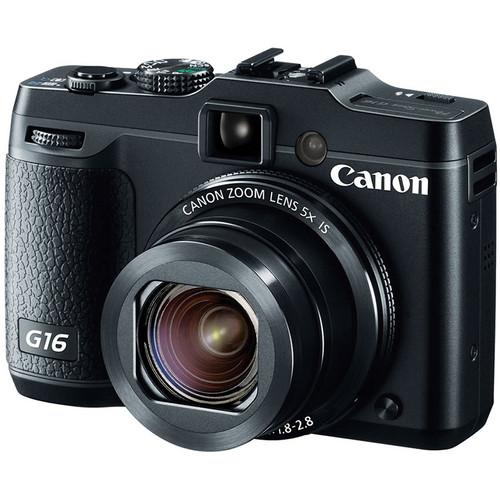
When choosing a new camera, there are two main options to consider: a “point and shoot” and a DSLR. Point and shoot cameras (like the Canon model pictured first) are typically more affordable and designed for ease of use. You will find these kinds of cameras at every price point (you probably have one lying around already) including many souped-up versions that have capabilities approaching their bigger brothers, the DSLR’s.
 These souped-up models (such as the Nikon pictured here) are called "bridge" cameras because they fall somewhere between a point and shoot and a DSLR, and are worth considering if you want a little more control over your pictures but don’t have the time or desire to devote to learn a fully manual model. Both point and shoot cameras and bridge cameras are often referred to as having a “fixed lens” because the lens is firmly attached to the camera body.
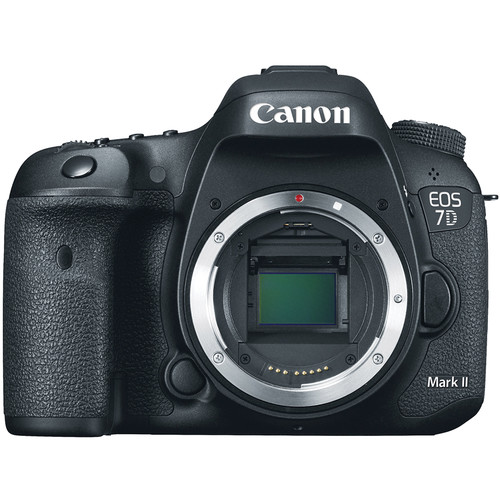 Digital Single-Lens Reflex cameras, or DSLR’s typically come with a higher price tag ($1500+) and a much steeper learning curve, but they also give you complete control over your images. Going fully manual allows you to fine tune your settings as you go, with better sensitivity to light and better overall image quality. There are many DSLR brands on the market, but the two that you will encounter most often are Canon and Nikon. Both are excellent quality and your choice will really come down to personal preference (I find Canon cameras a bit more intuitive in terms of ease of use, but I prefer the overall feel of the Nikon when I am taking photos). Whatever your choice, remember that you are buying into an entire system, not just a camera, when you make your purchase. That is to say, because you will be learning how to operate a specific brand and buy accessories to fit that brand, your choice will likely be a long-term commitment. As such, I would highly recommend going to your local photography store and trying out a number of models before buying.
All DSLR’s have the distinct advantage of interchangeable lenses, meaning that the camera body is not attached to the lens like they are with point and shoot/bridge cameras. Professional photographers will tell you that getting “good glass” is arguably more important than the camera body itself (and will often outlast your camera body technology), so this is an added element you must consider when buying a DSLR for the first time. Many entry-level DSLR cameras will come in a bundle that includes a lens (usually called a “kit lens”) and some additional accessories. On the surface these bundles look like great deals, and often they can be; kit lenses, however, can vary widely in quality, so be sure to do your research beforehand.
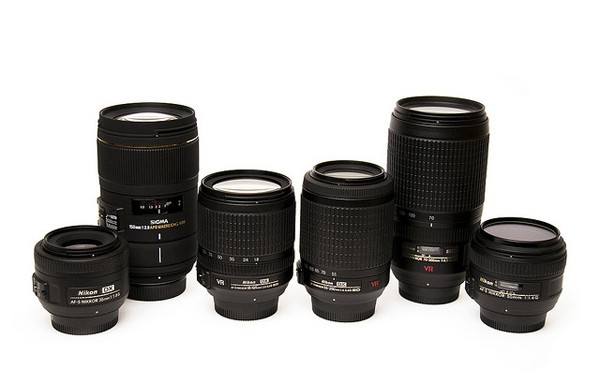
The most common kit lenses you will encounter are going to be either standard zooms or super zooms, which allow you to shoot at a variety of focal lengths (i.e. you can zoom in close, or pull back for a wider shot), and are considered the most versatile types of lenses out there. While these are great lenses on which to learn and can certainly take good photos of books and ephemera, the ideal choice for close-up work is called a macro lens. Macros are specialty lenses built specifically to photograph objects at close range, resulting in very sharp images with a high level of detail. Again, because DSLR lenses are changeable, you can always start with one type of lens and then switch to another should you feel the need to do so. Pretty cool, right?
Whatever kind of camera you choose, whether you are buying brand new or sticking to the one you have, the most valuable thing you can do is to pick up that user’s manual and learn to use your camera well. This is imperative with DSLR’s where the whole point of owning such a powerful camera is to exercise control over your images in a way that really makes them sing. Paying thousands of dollars for a top of the line piece of technology isn’t going to be worth the money if you never take it off auto. If and when you do invest in a DSLR, the biggest favor you can do for yourself and your business is to enroll in an intro to digital photography course at the same time. A DSLR camera has the ability to take your game to the next level, but only if you, the user, are willing to learn how to wield it.
Staging your shots is also an important part of taking good photos, so in my next post I will suggest some essential equipment, accessories, and simple set-ups to make your images look more uniform and professional (no matter what your budget or expertise).
Read "A Guide to Taking Better Photos" part 2...
Read "A Guide to Taking Better Photos" part 3...
Read "A Guide to Taking Better Photos" part 4...
---
Featured image (top) by Max Sat (source: Flickr via a cc license).